
Baking sourdough bread is a 2-day process from the time you feed your starter to when you pull a loaf of beautiful bread out of your oven.
I learned how to bake by following other bakers, professional and home cooks, over social media. It took me many years of trying this and that to come up with a recipe and method that I use regularly. That said, I still try new methods and ingredients almost every time! That’s the fun of sourdough baking.
Sourdough baking is a science experiment that produces a delicious product at the end. The pleasure of turning a paste of flour and water into something that just about everyone loves (I see you gluten-free friends) keeps me at it. It would probably surprise you to learn that most of the time I bake I don’t even eat the bread. I give it away. And that’s what happened with this loaf. Shindy can tell you more about that!
Right now, with all kinds of disturbing things happening to people who look like me, baking sourdough bread has been a welcome balm.

Sourdough baking is a science experiment that produces a delicious product at the end… It would probably surprise you to learn that most of the time I bake I don’t even eat the bread. I give it away… Shindy can tell you more about that.
Diana Son
BAKING SOURDOUGH BREAD: THE ESSENTIALS
TOOLS
- Kitchen scale
- Banneton (for shaping and proofing the dough overnight)
- Liners for the banneton
- Bread lame slashing tool with razors
- Bowl scraper (to get every last drop of dough)
- Cast iron dutch oven for baking at 500oF (prevents burning)
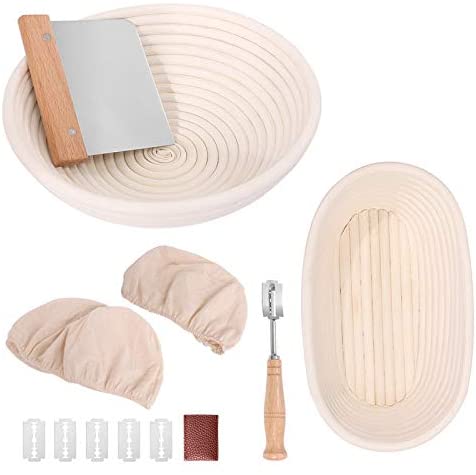
Bread Proofing Set 
Cast Iron Pot
INGREDIENTS
- 40g active sourdough starter
- 400 grams white bread flour
- 100 grams whole wheat flour
- 10 g salt
- A mix of pumpkin, black sesame, flax and sunflower seeds (20g each)
DAY 1: STARTING OFF!
- At around 8:30 a.m. I put 40g of active starter in this glass jar and added 60 grams of white flour and 60 grams of warm water, around 100 degrees. I expect it to take 3-5 hours to become ripe and ready to add to the dough. At this point the starter is now referred to as the levain. It’s just a name change.
- I set the levain near but not on my heater so that it stays warm. The warmer the starter is, the faster it’ll ripen. 82-85 would be the ideal temp. Anything above it would be too hot and would kill my starter! Life is too short as it is!
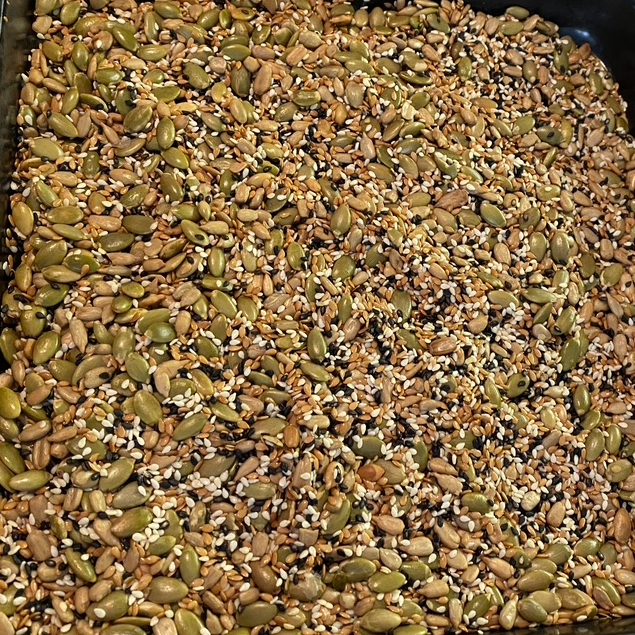
- I love toasted seeds in my bread so I toasted some pumpkin, sunflower, flax, sesame and black sesame seeds in a toaster oven at 350o for about 10 minutes. I checked on the seeds every few minutes and stirred them around with a spoon so that they all got toasted. The aroma is fantastic.
- I then put the seeds in a jar and cover them with water. This prevents the seeds from burning while the bread is baking. Also, the water they’re soaking in will be added to the dough later and impart a nutty flavor.


“Right now, with all types of disturbing things happening to people who look like me, baking sourdough bread has been a balm.”
Diana Son
ON EDGE
While that’s happening, I go to my exercise class in Park Slope. It’s a killer workout and afterwards I’m laying on the mat panting like the middle-aged woman squeezed into running pants that I am.
One of my classmates, an Asian-American woman, steps outside so she can catch her breath and take a sip of water. She comes back in cursing and unconsciously my response is “What did you get?” Meaning what kind of anti-Asian racism did you just experience? She says a bicyclist almost ran her down. I’m grateful (?) that it wasn’t something overtly racist. The trainer asks if she’s okay as I step outside to catch my breath as she did. I see the bicyclist. He’s now riding in the bike lane. I think to myself, we’re on edge. We’re on edge. We’re looking out.
After I wipe down my equipment and get ready to leave, a white classmate comes up to me and asks if I’m okay. I don’t know her well, just a friendly face, and I appreciate the check in. I know I will pass the Asian-American woman on my way out the door and despite our safety protocols, I reach out for her hand and she takes it and I say “Be safe, be strong.” She looks me in the eye and I see she’s been tearful. She tells me to stay safe too and I continue out the door. It was a meaningful moment of connection and I’m always grateful for a chance to encounter the humanity of an acquaintance but I wish it hadn’t been provoked by racism.
Back at my place, I check on my levain. It has some bubbles but not as many as I would expect if it were ripe. I give it the float test by pinching off a small amount and gently dropping it into a glass of water:

#Fail. The starter has sunk to the bottom of the glass. If it was ready to bake with it would float. I set the jar back in its warm place.
DAY 1: PREPARING THE DOUGH WITH LEVAIN
- In the meantime, I’m going to autolyse or hydrate the dough that I will later add the levain to. I add 400 grams of white bread flour and 100 grams of whole wheat flour. Today I’m using Rouge de Bordeaux which is a lovely wheat flour I mail order from Barton Springs Mill in Austin, TX. It has a lovely, naturally nutty and almost cinnamon-y flavor to it. Not so much that it tastes like cinnamon bread but it adds some character and dimension to the white bread flour. I love the contrast between the color of the wheat flour and the white. After you’ve been baking bread for a while you start to really geek out on the smallest details!
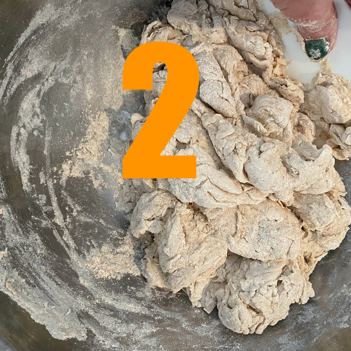
- To hydrate 500 grams total flour (white and wheat) I start by adding 375 grams of water I use some of the water strained from the nuts and then supplement with tap water. (The water from the nuts is slightly brown and viscous so I didn’t take a pic. Not pretty! But will taste great.) Every flour behaves differently – depending on the brand you buy, the kind of wheat it is, when it was milled etc. A lot of sourdough bread baking depends on feel and personal preference. As you can see, after I added 375 grams of water the dough is still fairly dry –with bits of unhydrated flour visible.
- So I added more water. At this point, I don’t weigh how much water I add. It’s all by feel. If I were to guess I’d say it was around 10-15 grams. Now this is a well-hydrated dough. There is no dry flour. I will let it sit or hydrate or autolyse (different names for the same thing) until the levain is ready. During this process gluten strands are being developed but the dough is not fermenting because there is no live yeast (sourdough) present.
- I cover it with this shower cap I got at a hardware store. I think it would also look very cheerful on Shindy :0
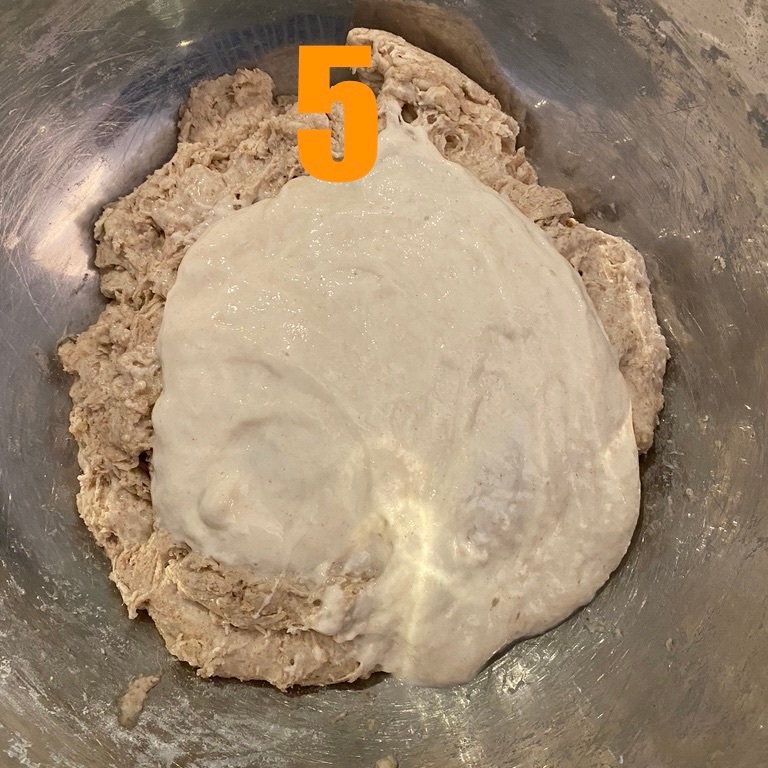
- Once the levain is ready aka passes the float test, I add it to the dough.
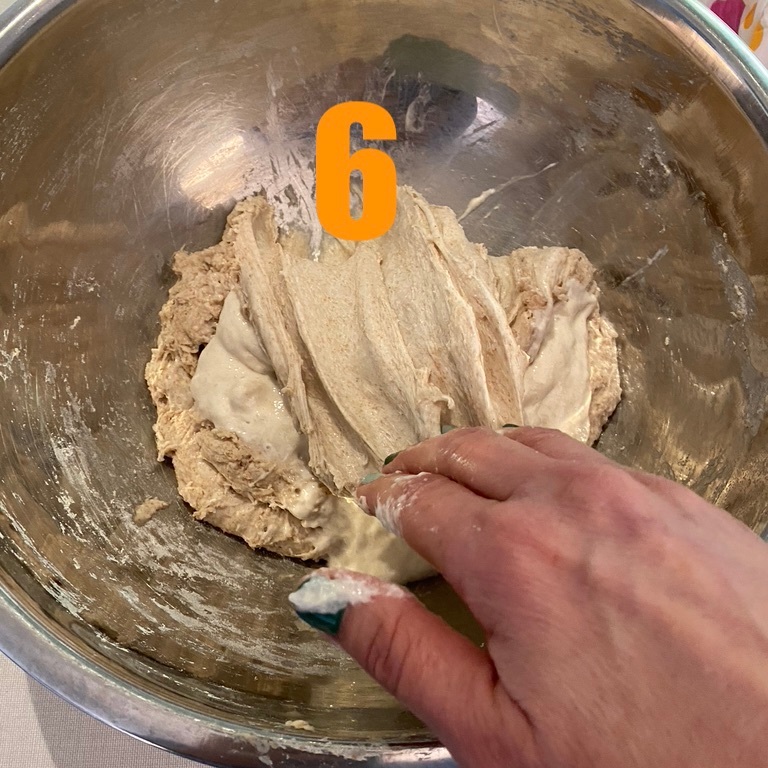
- I then poke holes in it to work the levain into the dough.
- And then I mix it by hand. After the levain is fully incorporated into the dough, I put the shower cap back on and let it sit for 30 minutes.
- I then add 10 grams of salt and mix it by hand again for 3-4 minutes (SEE VIDEO BELOW)


DAY 1: WORKING AND SHAPING THE DOUGH
- I put the shower cap back on and let it rest for another 30 minutes.
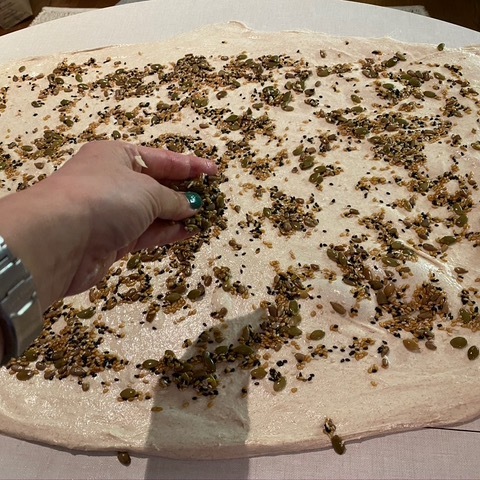
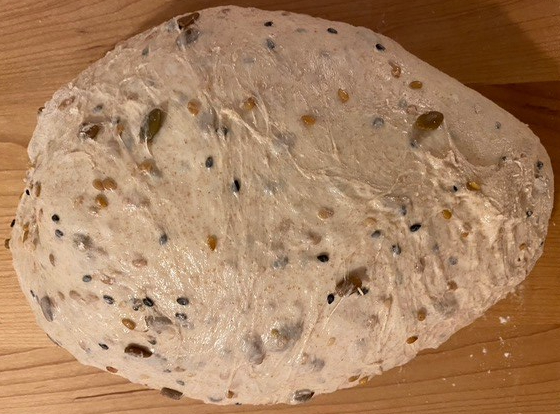
- After which, I laminate the dough and add the nuts and seeds. I spray my counter with water so that the dough won’t stick and then carefully stretch it out into this rectangular shape. Then I add the nut mix.
- After which I fold the dough into thirds
- And into thirds the other way so I end up with a neat little package.
- I move the package of dough into a glass container


- After 45 minutes I do a coil fold (see below). This is a way to build strength without kneading the dough.
- I do this on all 4 sides until it’s a neat little package again.
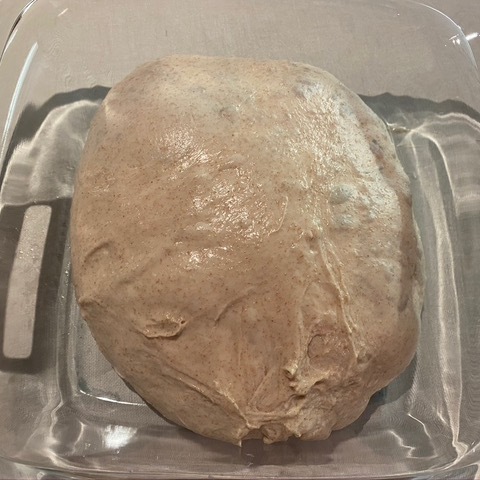
- I repeat this coil fold every 45 minutes for the next 3-4 hours until the dough is bubbly and aerated.


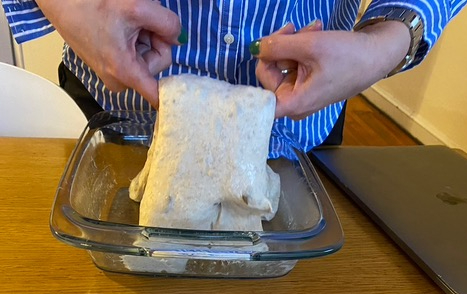

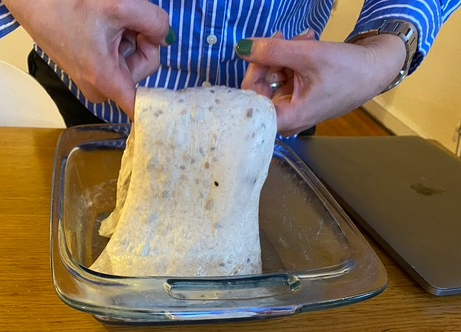


- I give it the windowpane test to see if the gluten is strong enough that I can make this windowpane and see through it. If the gluten wasn’t strong enough it would tear.

DAY 1: STITCHING THE DOUGH
The next step is to shape the dough:
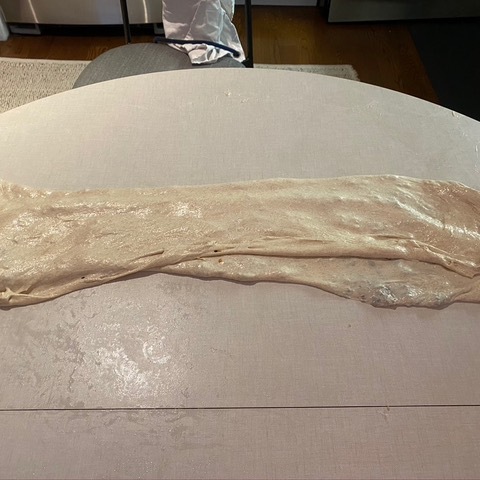
I like a method called ‘STITCHING‘ which is especially helpful when your dough has a high hydration (percentage of water to flour) as mine does. This produces the best flavor and texture.
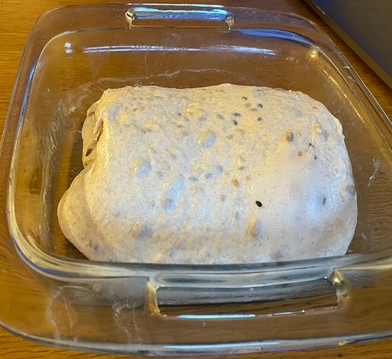
After stitching, the dough looks like this:
DAY 2: BAKING AND EATING
I put the dough in a banneton or proofing basket where it will sit overnight:

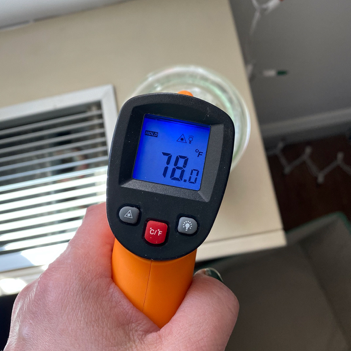
In the morning I preheat my oven to 500 degrees for an hour. That’s because even though your oven says it has reached 500 degrees, it hasn’t. I use an infrared thermometer to take the temp of the oven.
When it’s hot enough, I slash the dough with a lame (sorry I forgot to take pics) then put it in a cast iron dutch oven. I bake it at 500 for 20-25 minutes then take the lid off. The bread now looks like this. You see how the slash in the dough has enabled steam to escape?
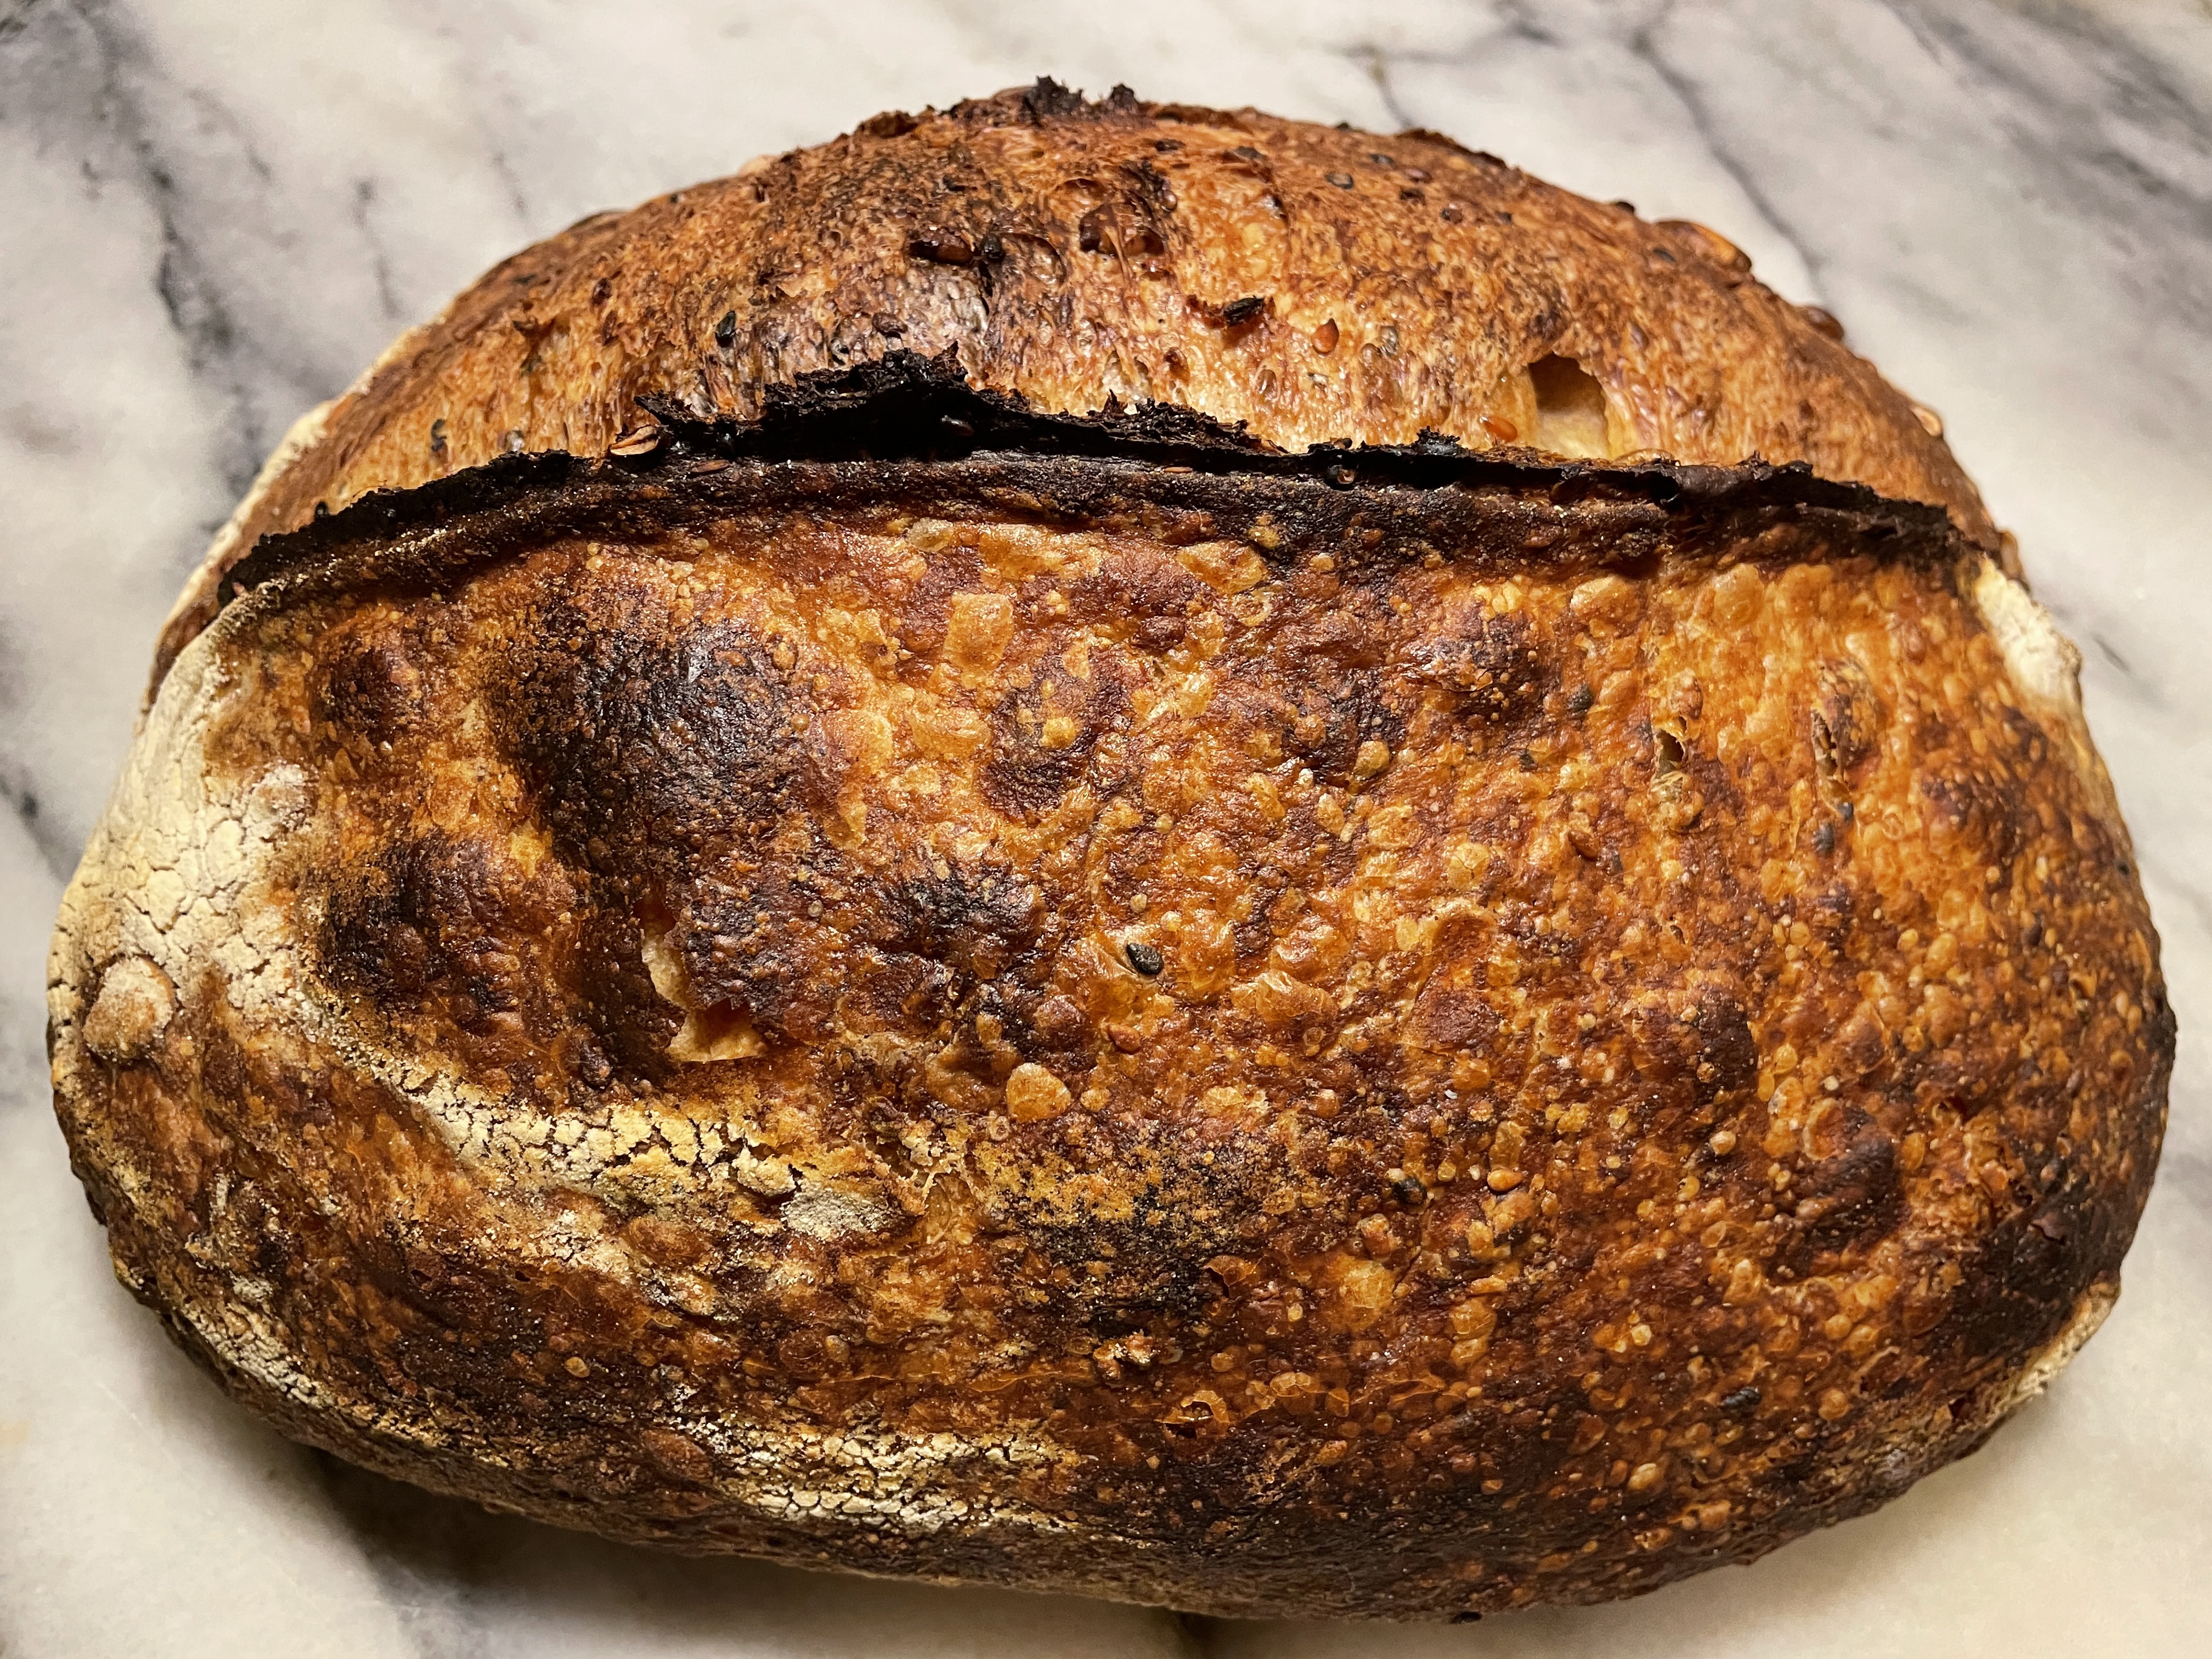
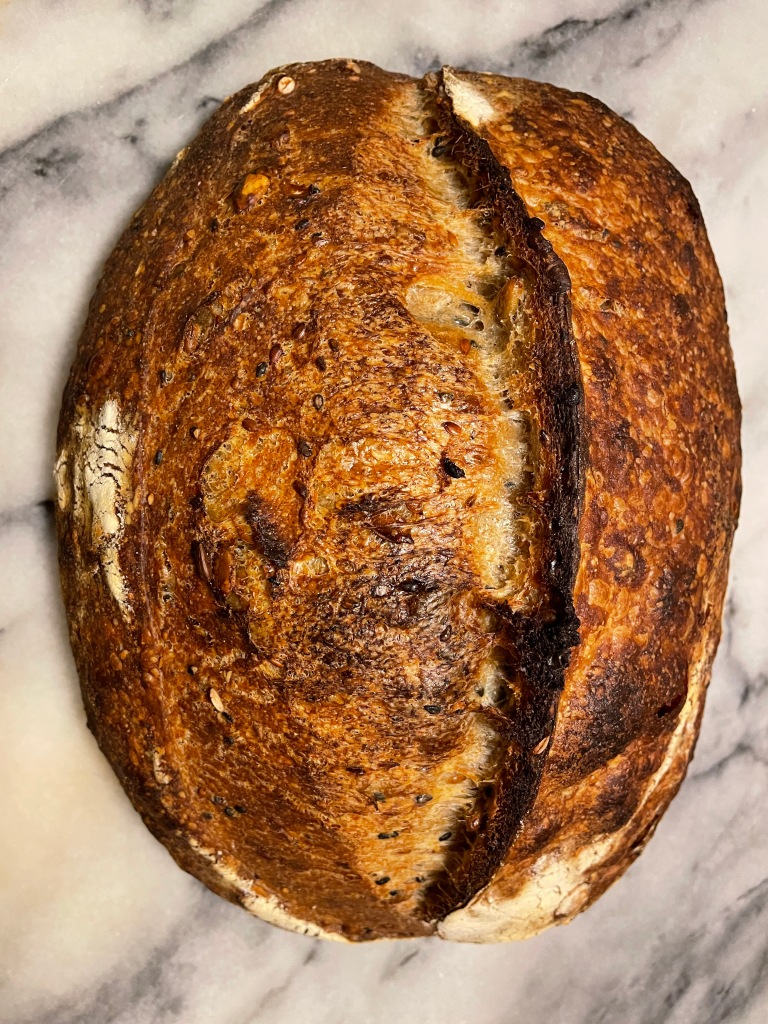
This is a good looking loaf of bread! It has a nice bloom, meaning, it has risen well. But it’s not done yet. I lower the heat to 480 put the bread back into the dutch oven but without the lid then I finish baking for another 15-20 minutes.
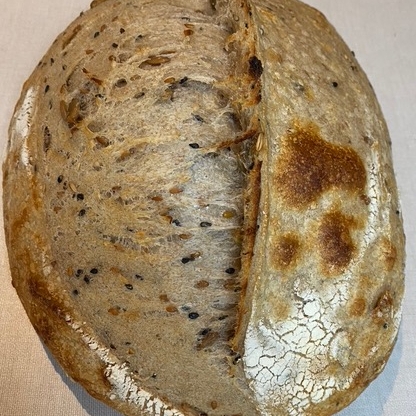
Now the bread is done.

I like to bake my bread to a deep caramel color. The crust is the best part! The bread needs to rest for 2 hours so the starches can finish congealing. Doesn’t sound very appetizing but it just means so your bread isn’t too wet and gummy.
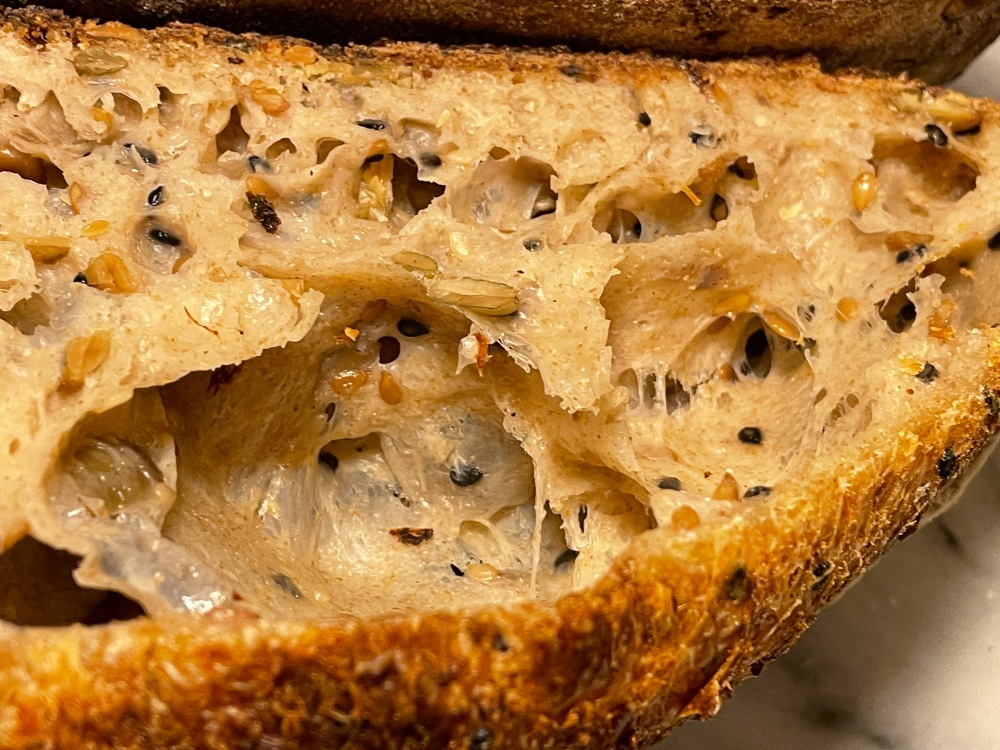
This loaf is for Shindy and I can’t wait until she cuts into it to see how the texture came out!


REVIEWS
I must confess to having fully consumed at least 3/5 of this bread as breakfast, lunch, dinner and snack. My favorite is lightly toasted with plum jam and whipped cream cheese.
— SJ
It’s like eating 3 different breads in one. The upper crust, the center and the bottom crust each have different texture and flavor. It is unlike any bread I have ever eaten. This requires further study.
— JHT
This bread rivals the best, most surprising and delightful bread that may appear in your basket at a top tier restaurant.
— SJ

I love sourdough! This looks delicious, I’m going to have to try with my starter!
LikeLiked by 1 person
It was so perfect, Hannah. Please report back if you do try the recipe. Feedback is important to us.
LikeLike
This sourdough recipe is a huge hit in my house. More interesting flavor with the soaked seeds and great texture too. My dough was a little wet and that persisted so the cooked bread was softer inside despite a nice crust. With repeated efforts you get the hang of how to adjust time and add more or less water. They family loved the softer inside. Big open structure also. The coil folding works great with wet hands and a 9×13 Pyrex. If the dough is a little too wet by the end it can be a little hard to transfer to the banneton. You can use a sharp knife rather than a razor to make the cuts to permit the loaf to expand in the oven. Finally, I suggest you make 2 loaves since you are just going to eat the whole loaf in 3 days.
LikeLiked by 1 person
We are so glad to hear that you enjoyed this recipe!
LikeLike