
When Kiyomi was in kindergarten, I was chatting in the hallway with a parent about my absolute love for and obsession with chocolate. He casually mentioned that he was a “chocolatier” and promised to bring me a few copies of a magazine that he edited – Chocolatier: A Taste of the Good Life. Ah Michael Schneider! How you changed my life with that simple act of giving!
Now, dear reader, let me pass on the good vibes and change your lives with this recipe.
I have baked The Chocolate Chip Coconut Mound recipe from the March 1999 issue of Chocolatier too many times to remember. Over the years I have refined and tweaked it to make it my own but I have to give credit to Chocolatier because the basic outlines of the recipe guide me every time. The magazine is no longer in print but it had a great run from 1984 – 2007.
This cookie has found its way into gift boxes for my children’s school teachers, school nurses, School for Strings, American Museum of Natural History and on and on – always to rave reviews. If you love dark chocolate, coconut and nuts – this is the cookie for you. In addition, I have found the recipe to be so flexible that if you omit the nuts it will still deliver delectable pleasure. My firstborn is allergic to nuts so when she is at home, I make two batches – one with nuts and the other without.

The Cookie
PREPARATION TIME: Budget an extra 30 minutes to 1 hour to refrigerate the dough before baking.
SUBSTITUTIONS:
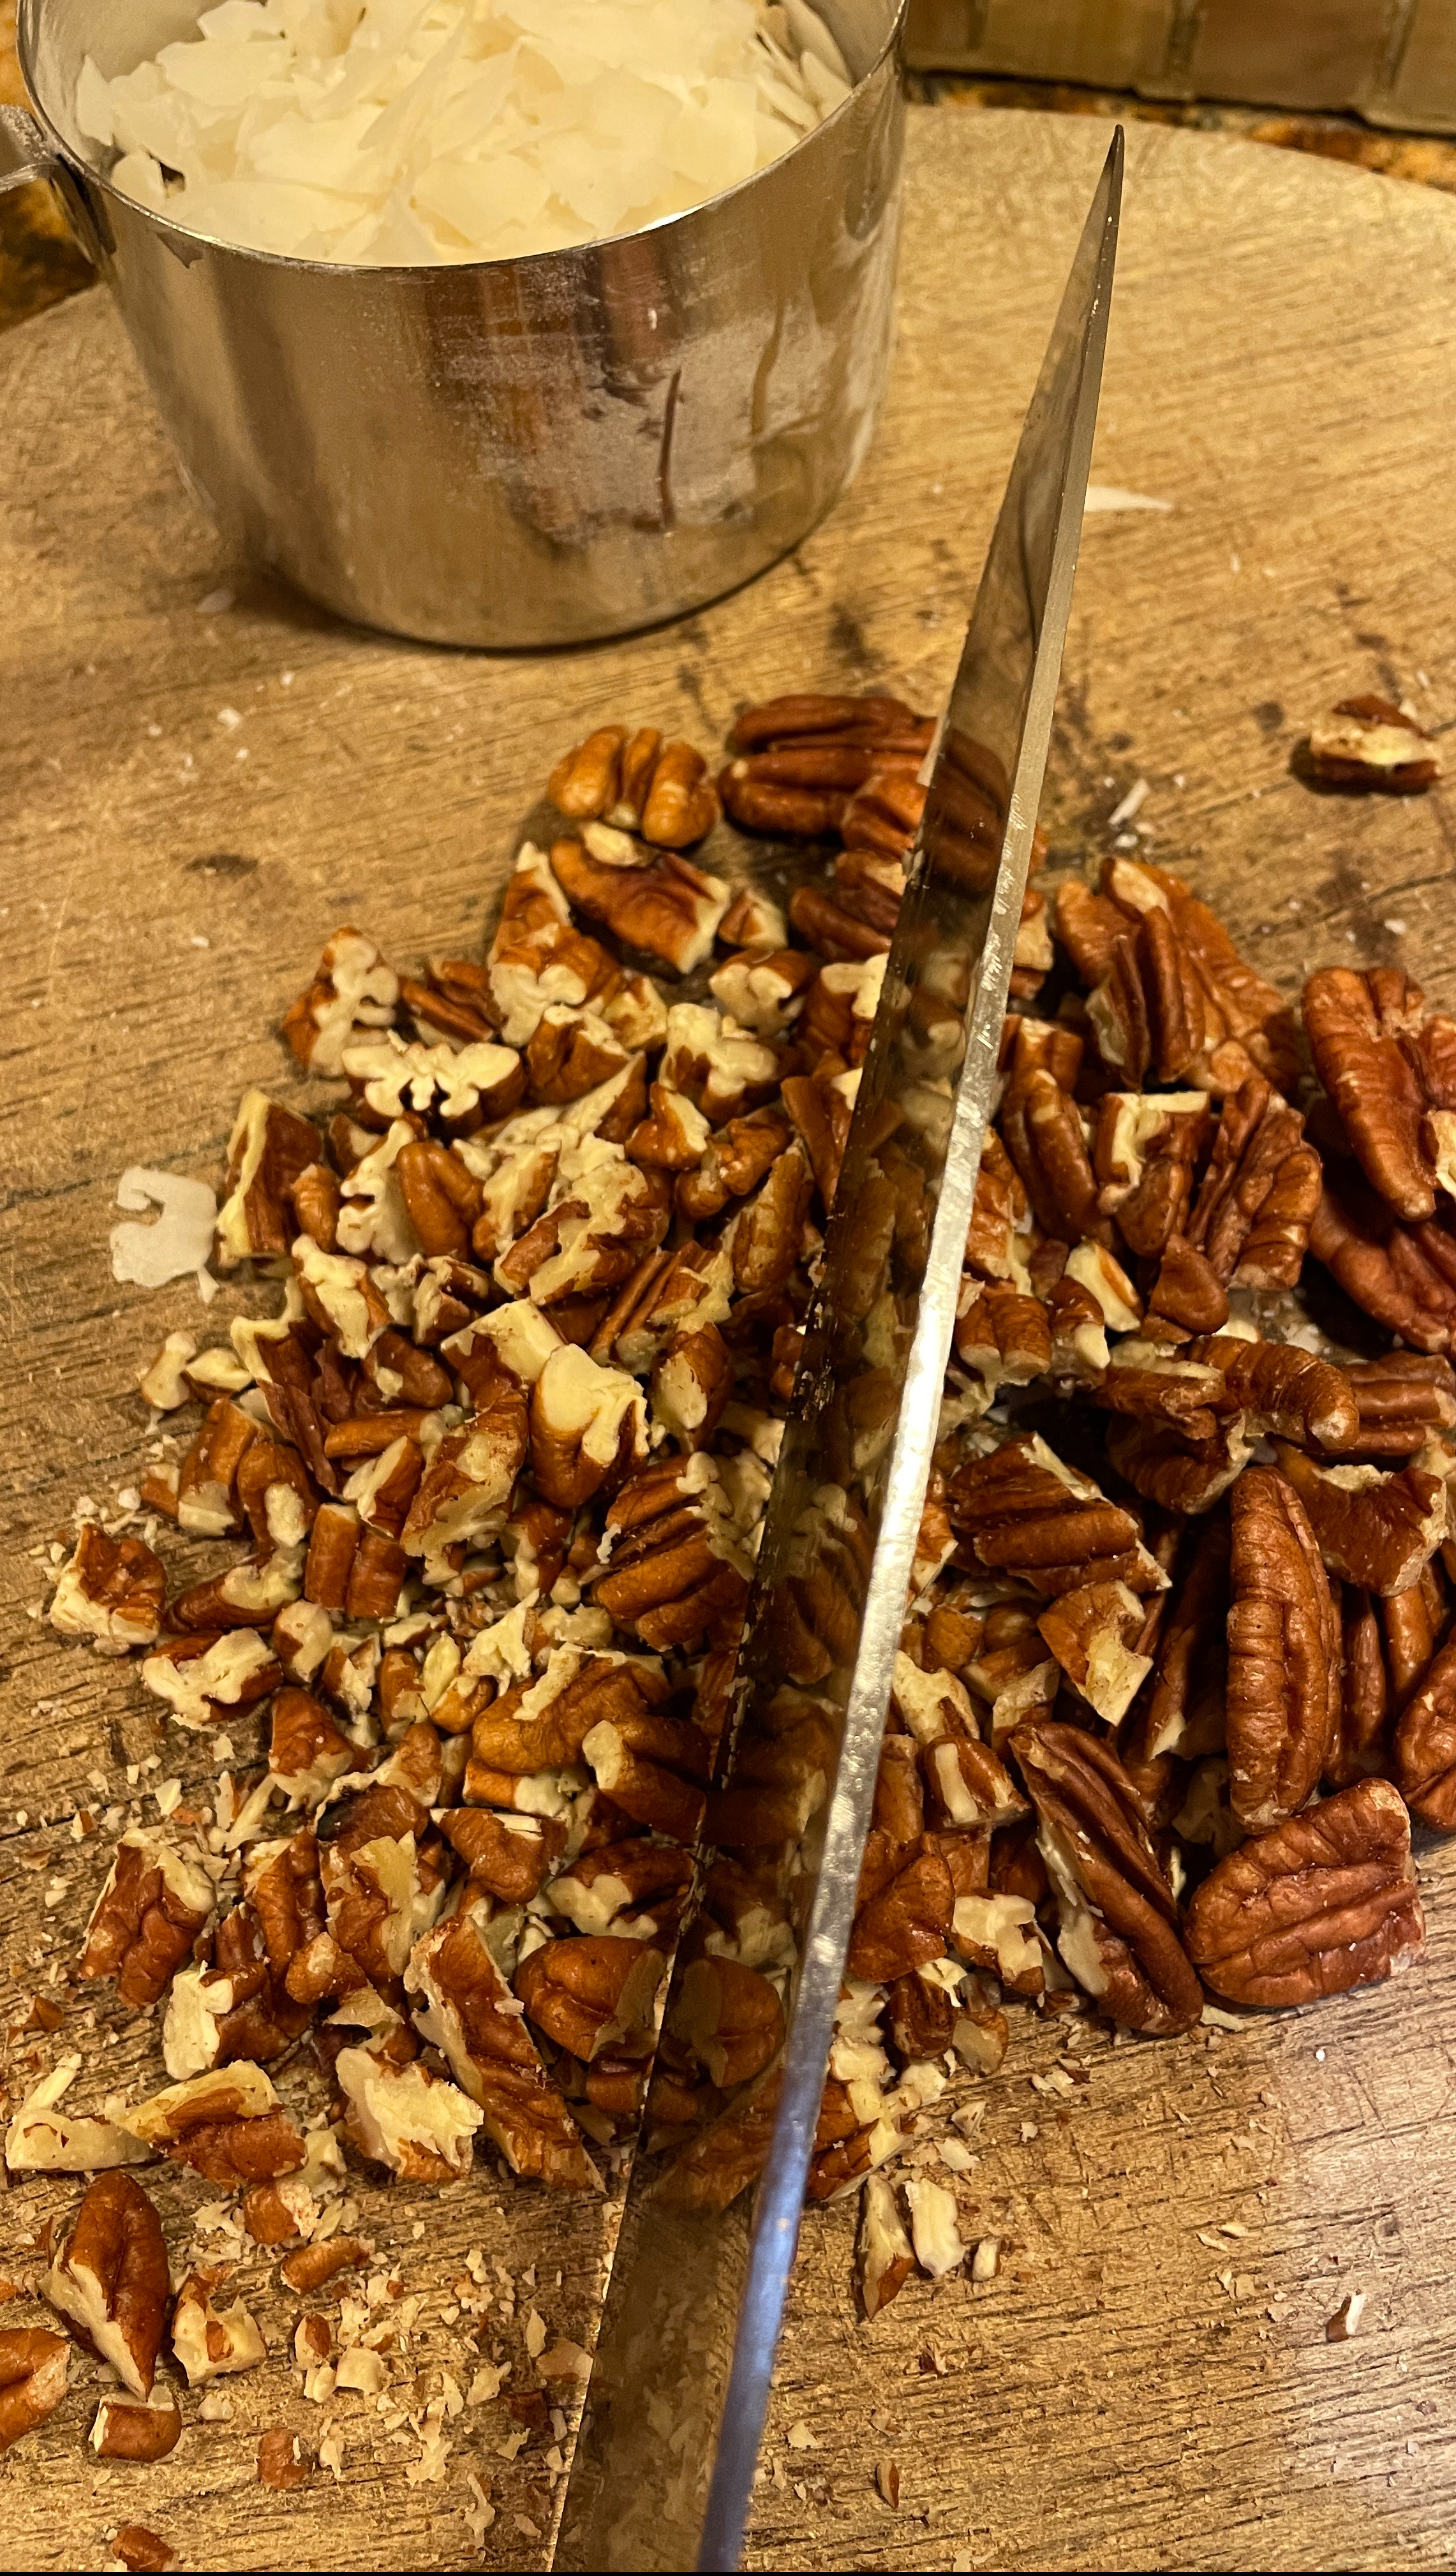
- Original recipe calls for walnuts. Walnuts provide a heartier crunch. Pecans work wonderfully as a substitute. If you want a more delicate crunch – use pecans.
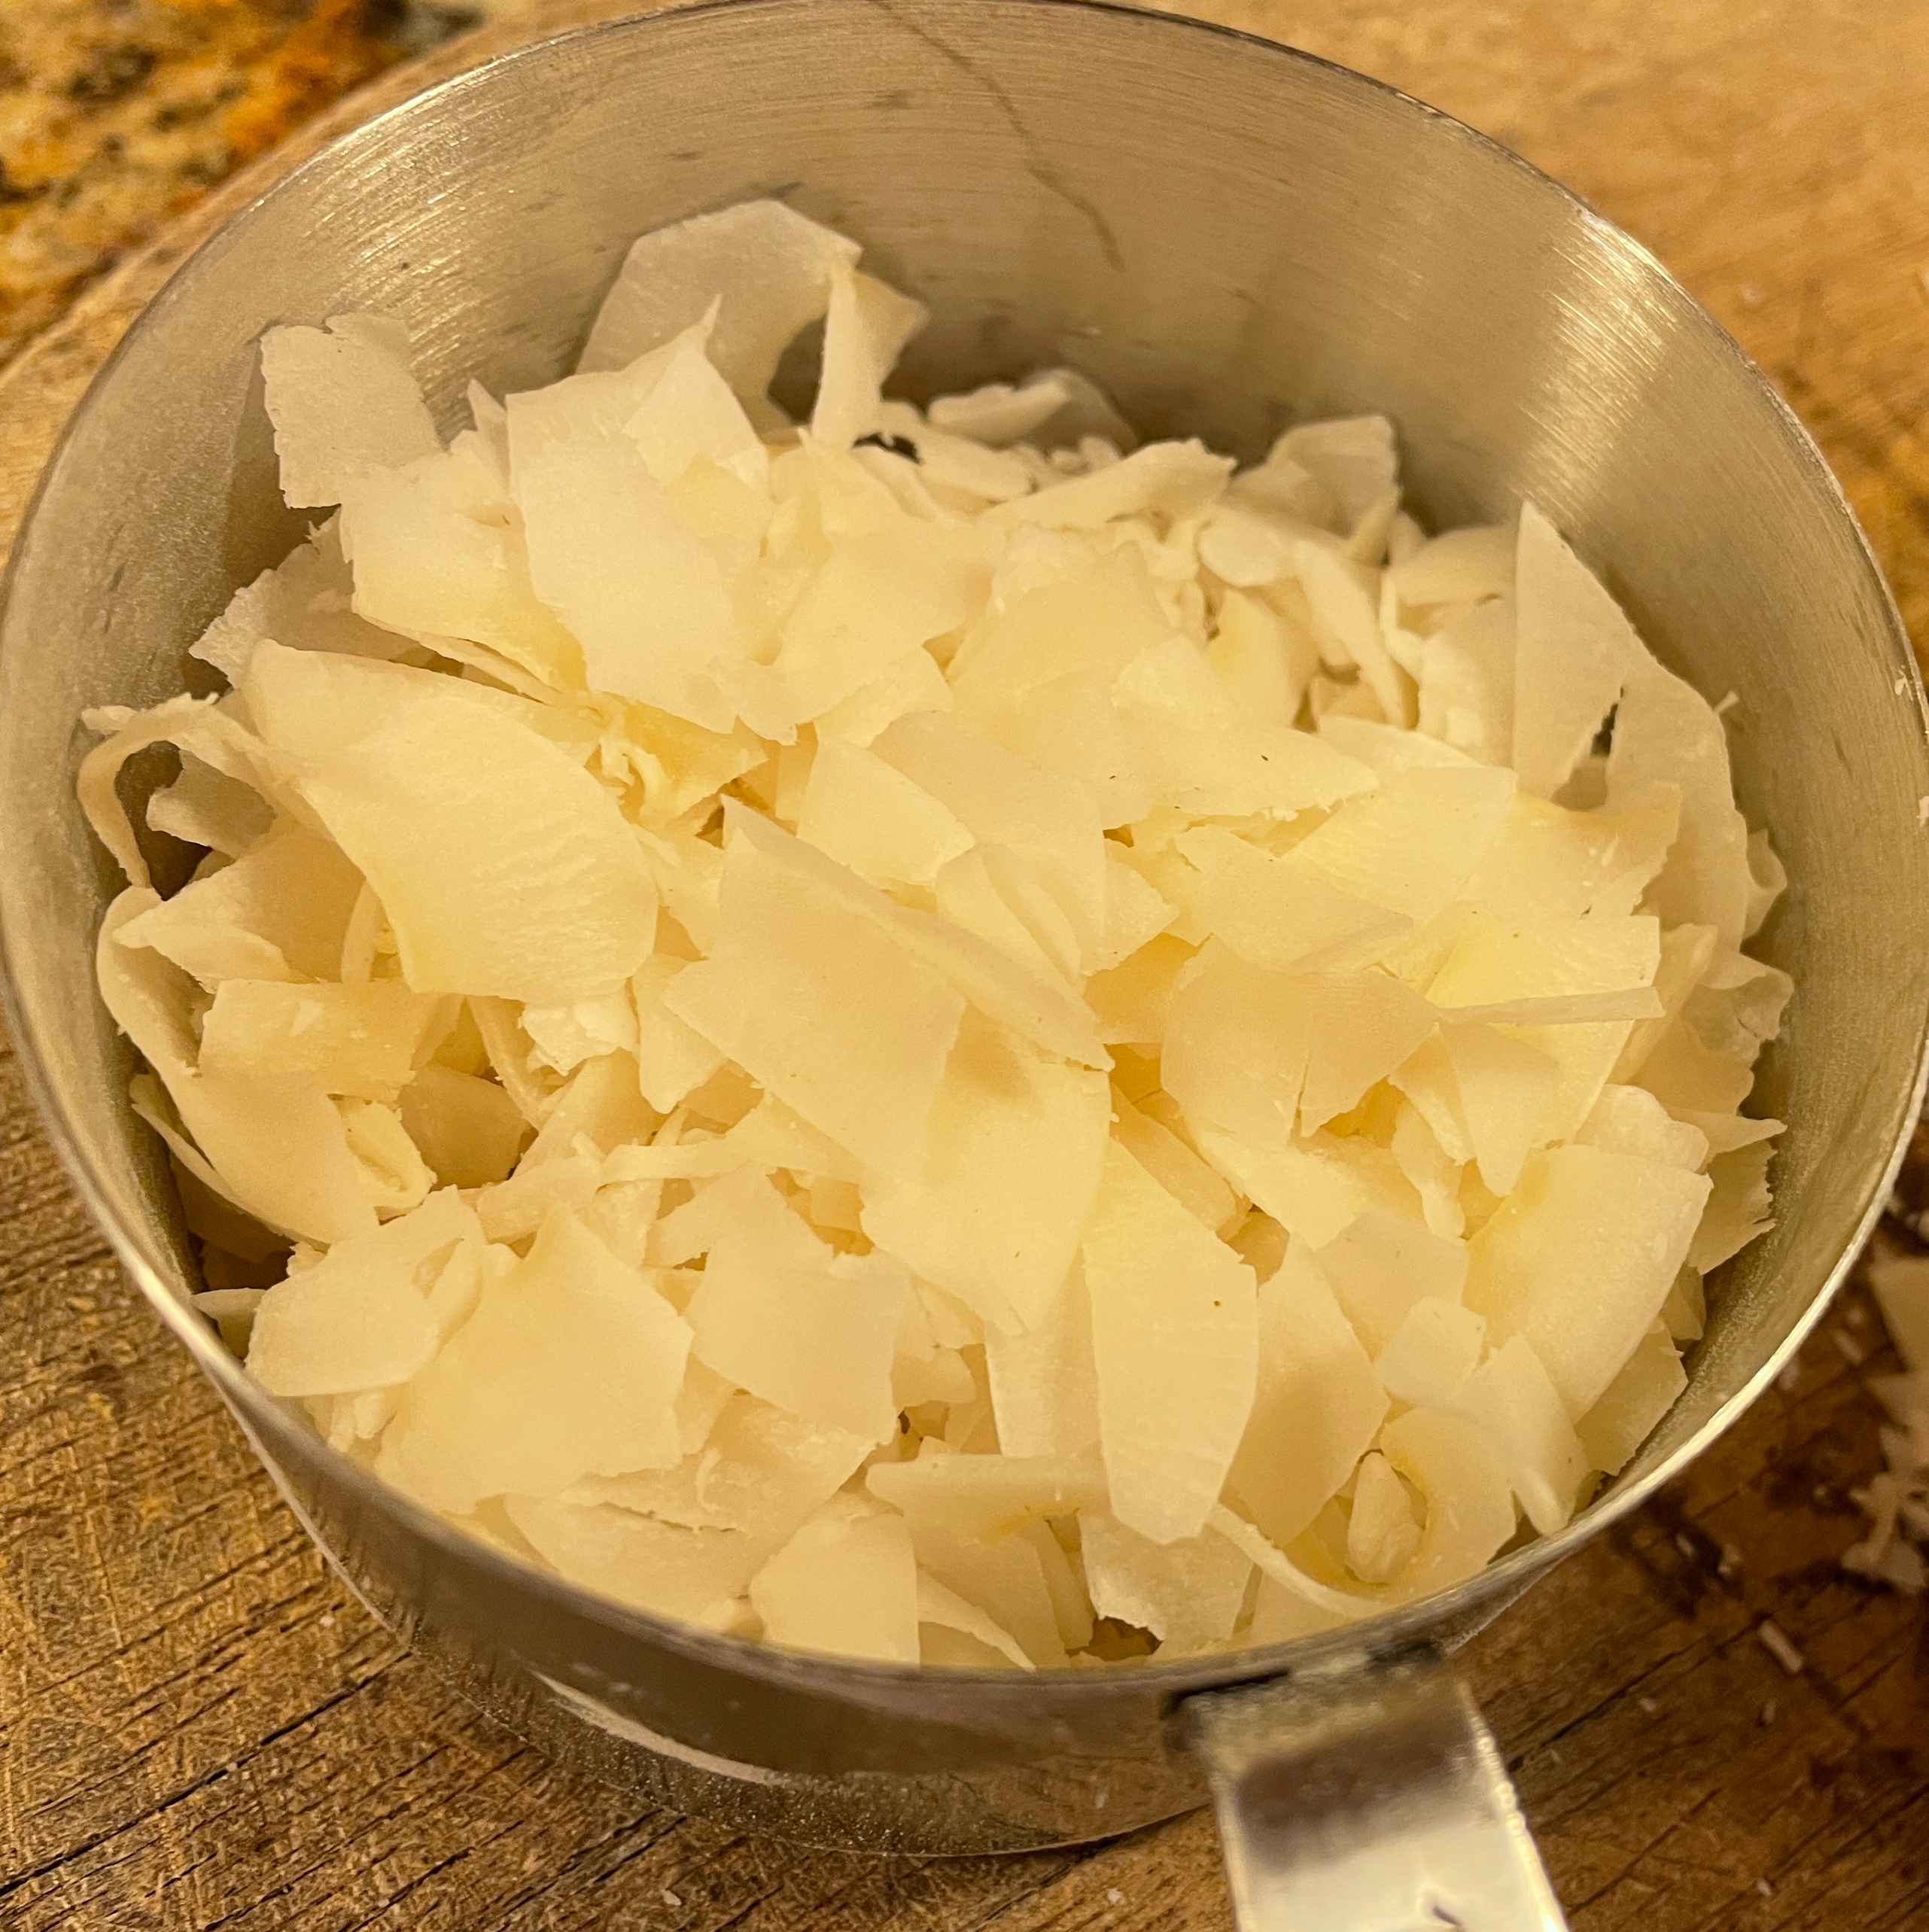
- Original recipe calls for sweetened coconut flakes. Unsweetened makes no difference.
- Original recipe calls for unsalted butter. If you only have salted butter on hand, use it and omit additional salt.
- Cake flour: If you do not have cake flour you can make a good enough substitute by sifting and whisking together 1 cup (less 2 tbsp) all purpose flour and 2 tbsp cornstarch. Make sure the flour and cornstarch are well combined.
ingredients
- 1 1/2 cups all purpose flour
- 5 tablespoons cake flour
- 1 tsp baking powder
- 1/4 tsp baking soda
- 1/4 tsp cream of tartar
- A dusting of cinnamon (1/4 tsp)
- 1/2 tsp or so grated nutmeg
- 1/2 tsp salt (omit if using salted butter)
- 1/4 cup solid shortening
- 8 tbsp butter (divided or softened)
- 1/2 cup plus 2 tbsp brown sugar
- 1/2 cup granulated sugar or raw sugar
- 1 large egg
- 1 1/2 tsp hot water
- 2 1/2 tsp pure vanilla extract
- 1 cup (4.5 oz) lightly packed sweetened coconut flakes
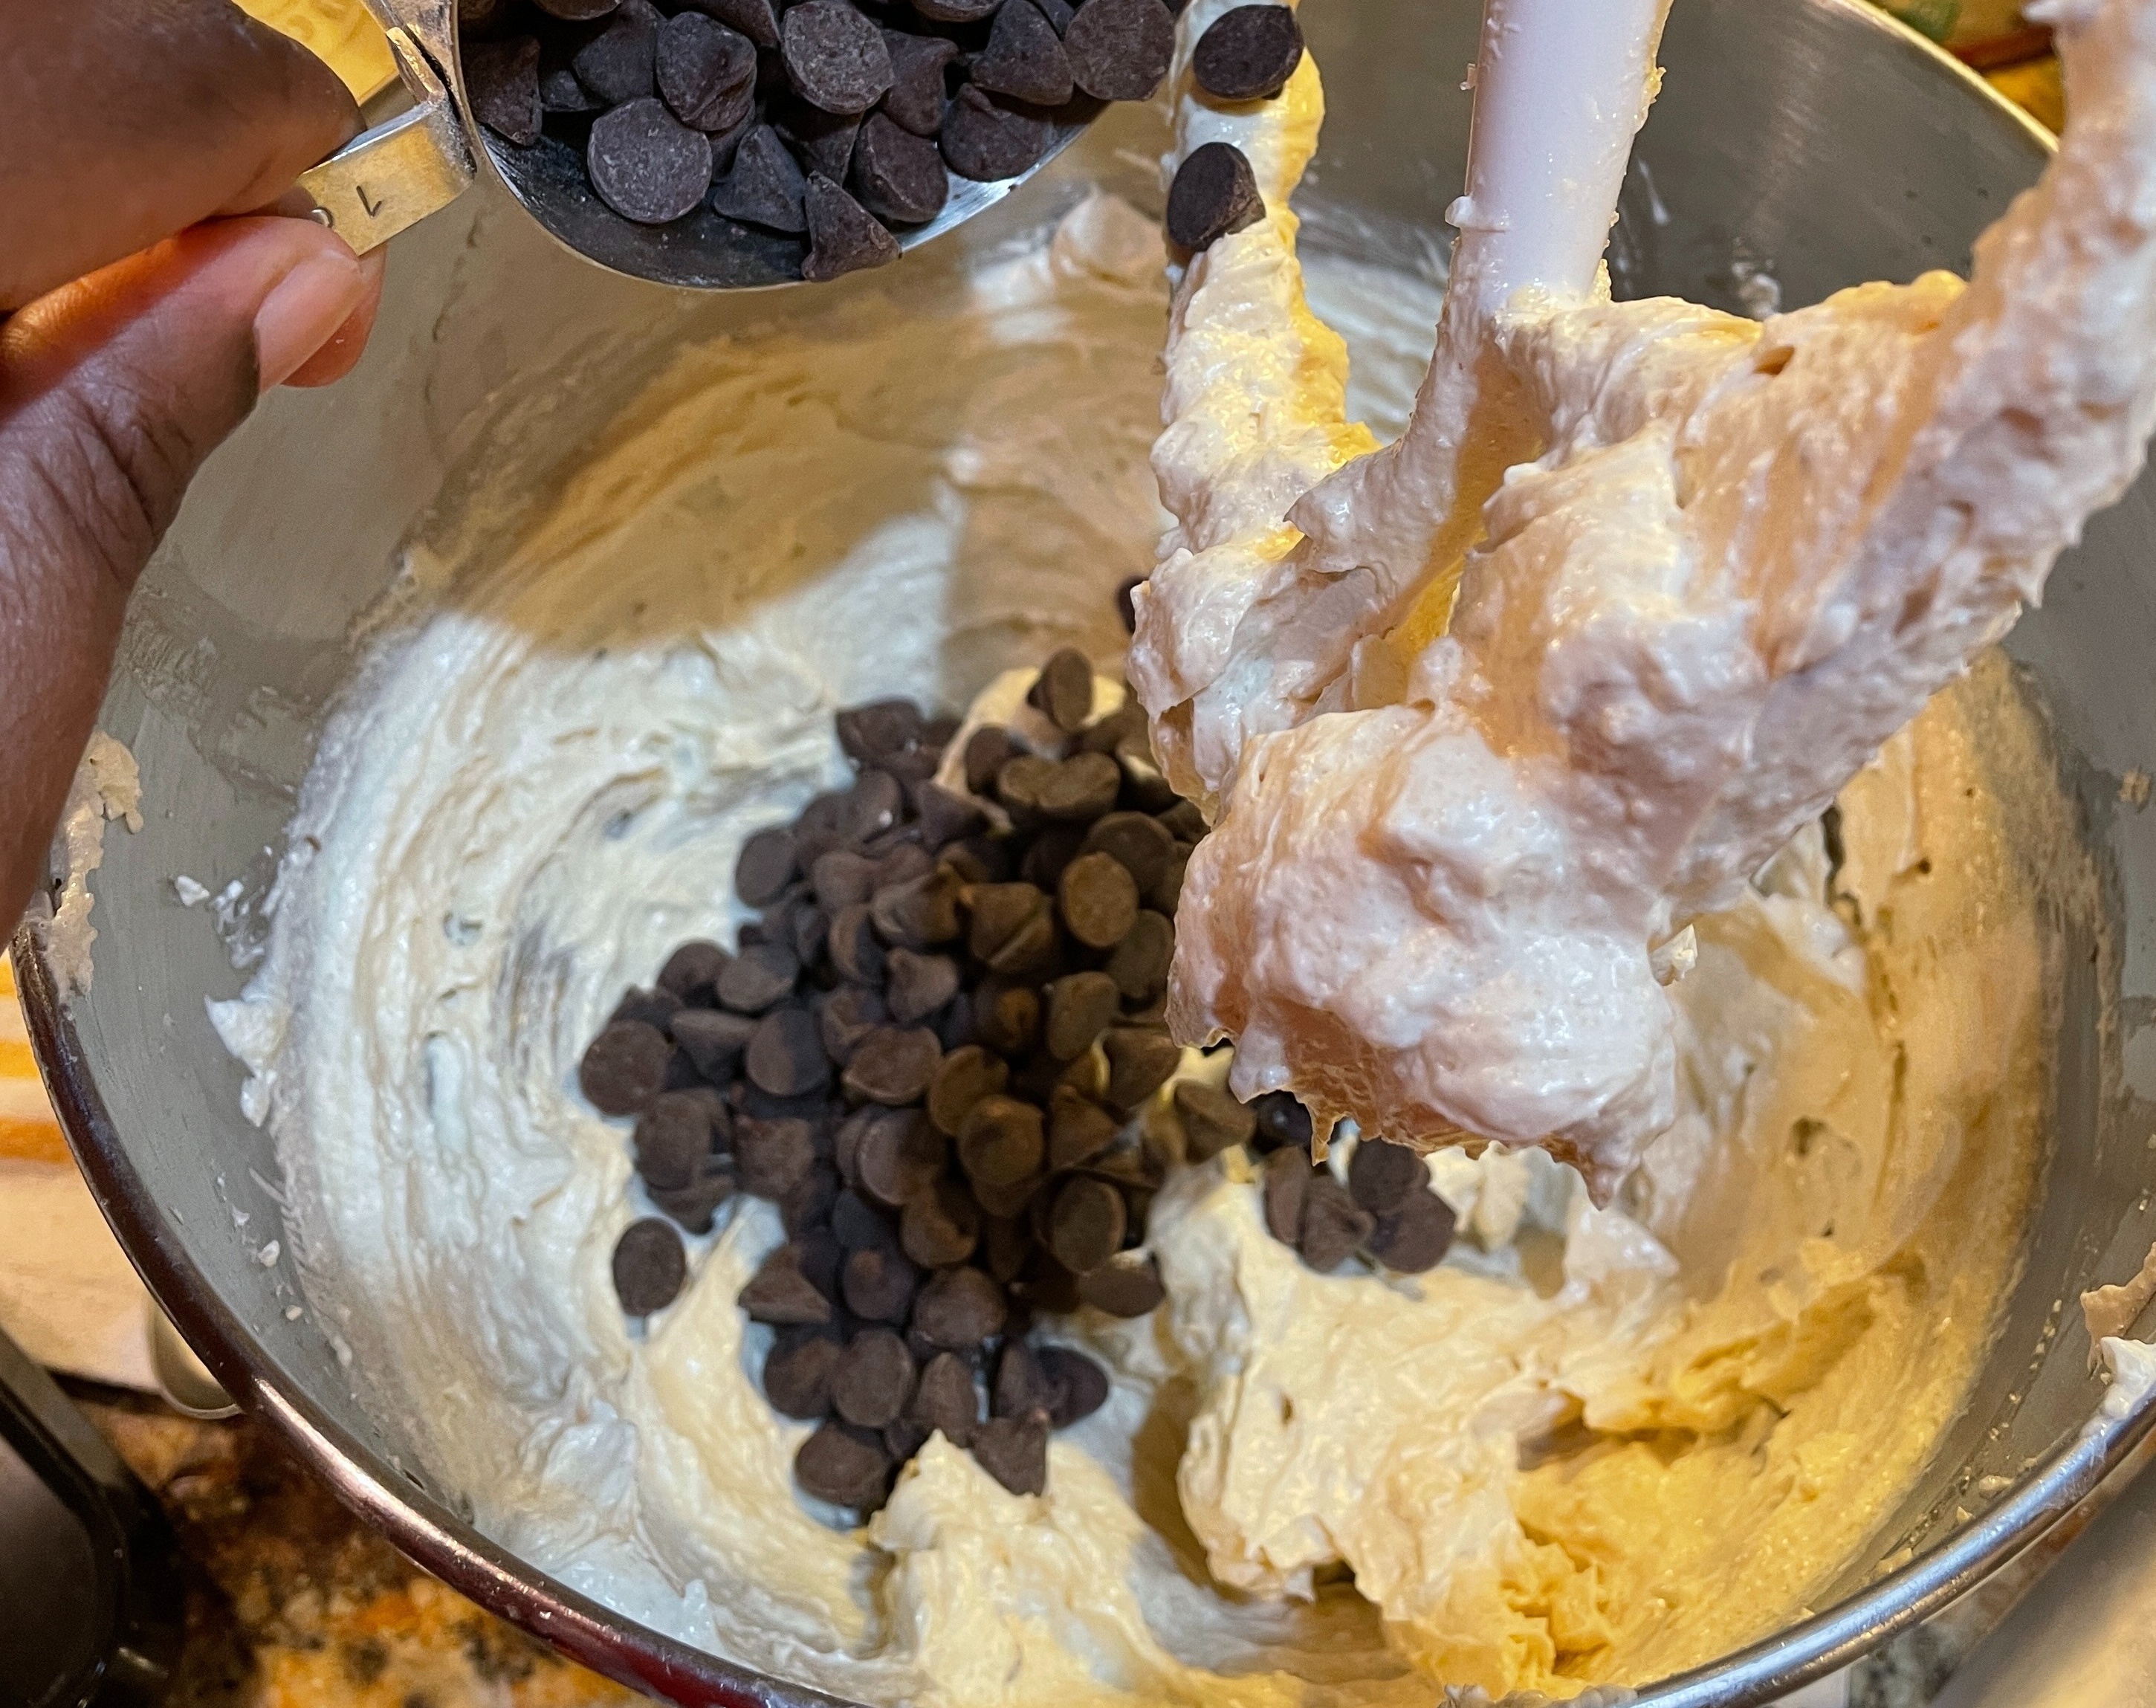
- 1 2/3 cup semisweet chocolate chips
- 1 cup coarsely chopped walnuts
method
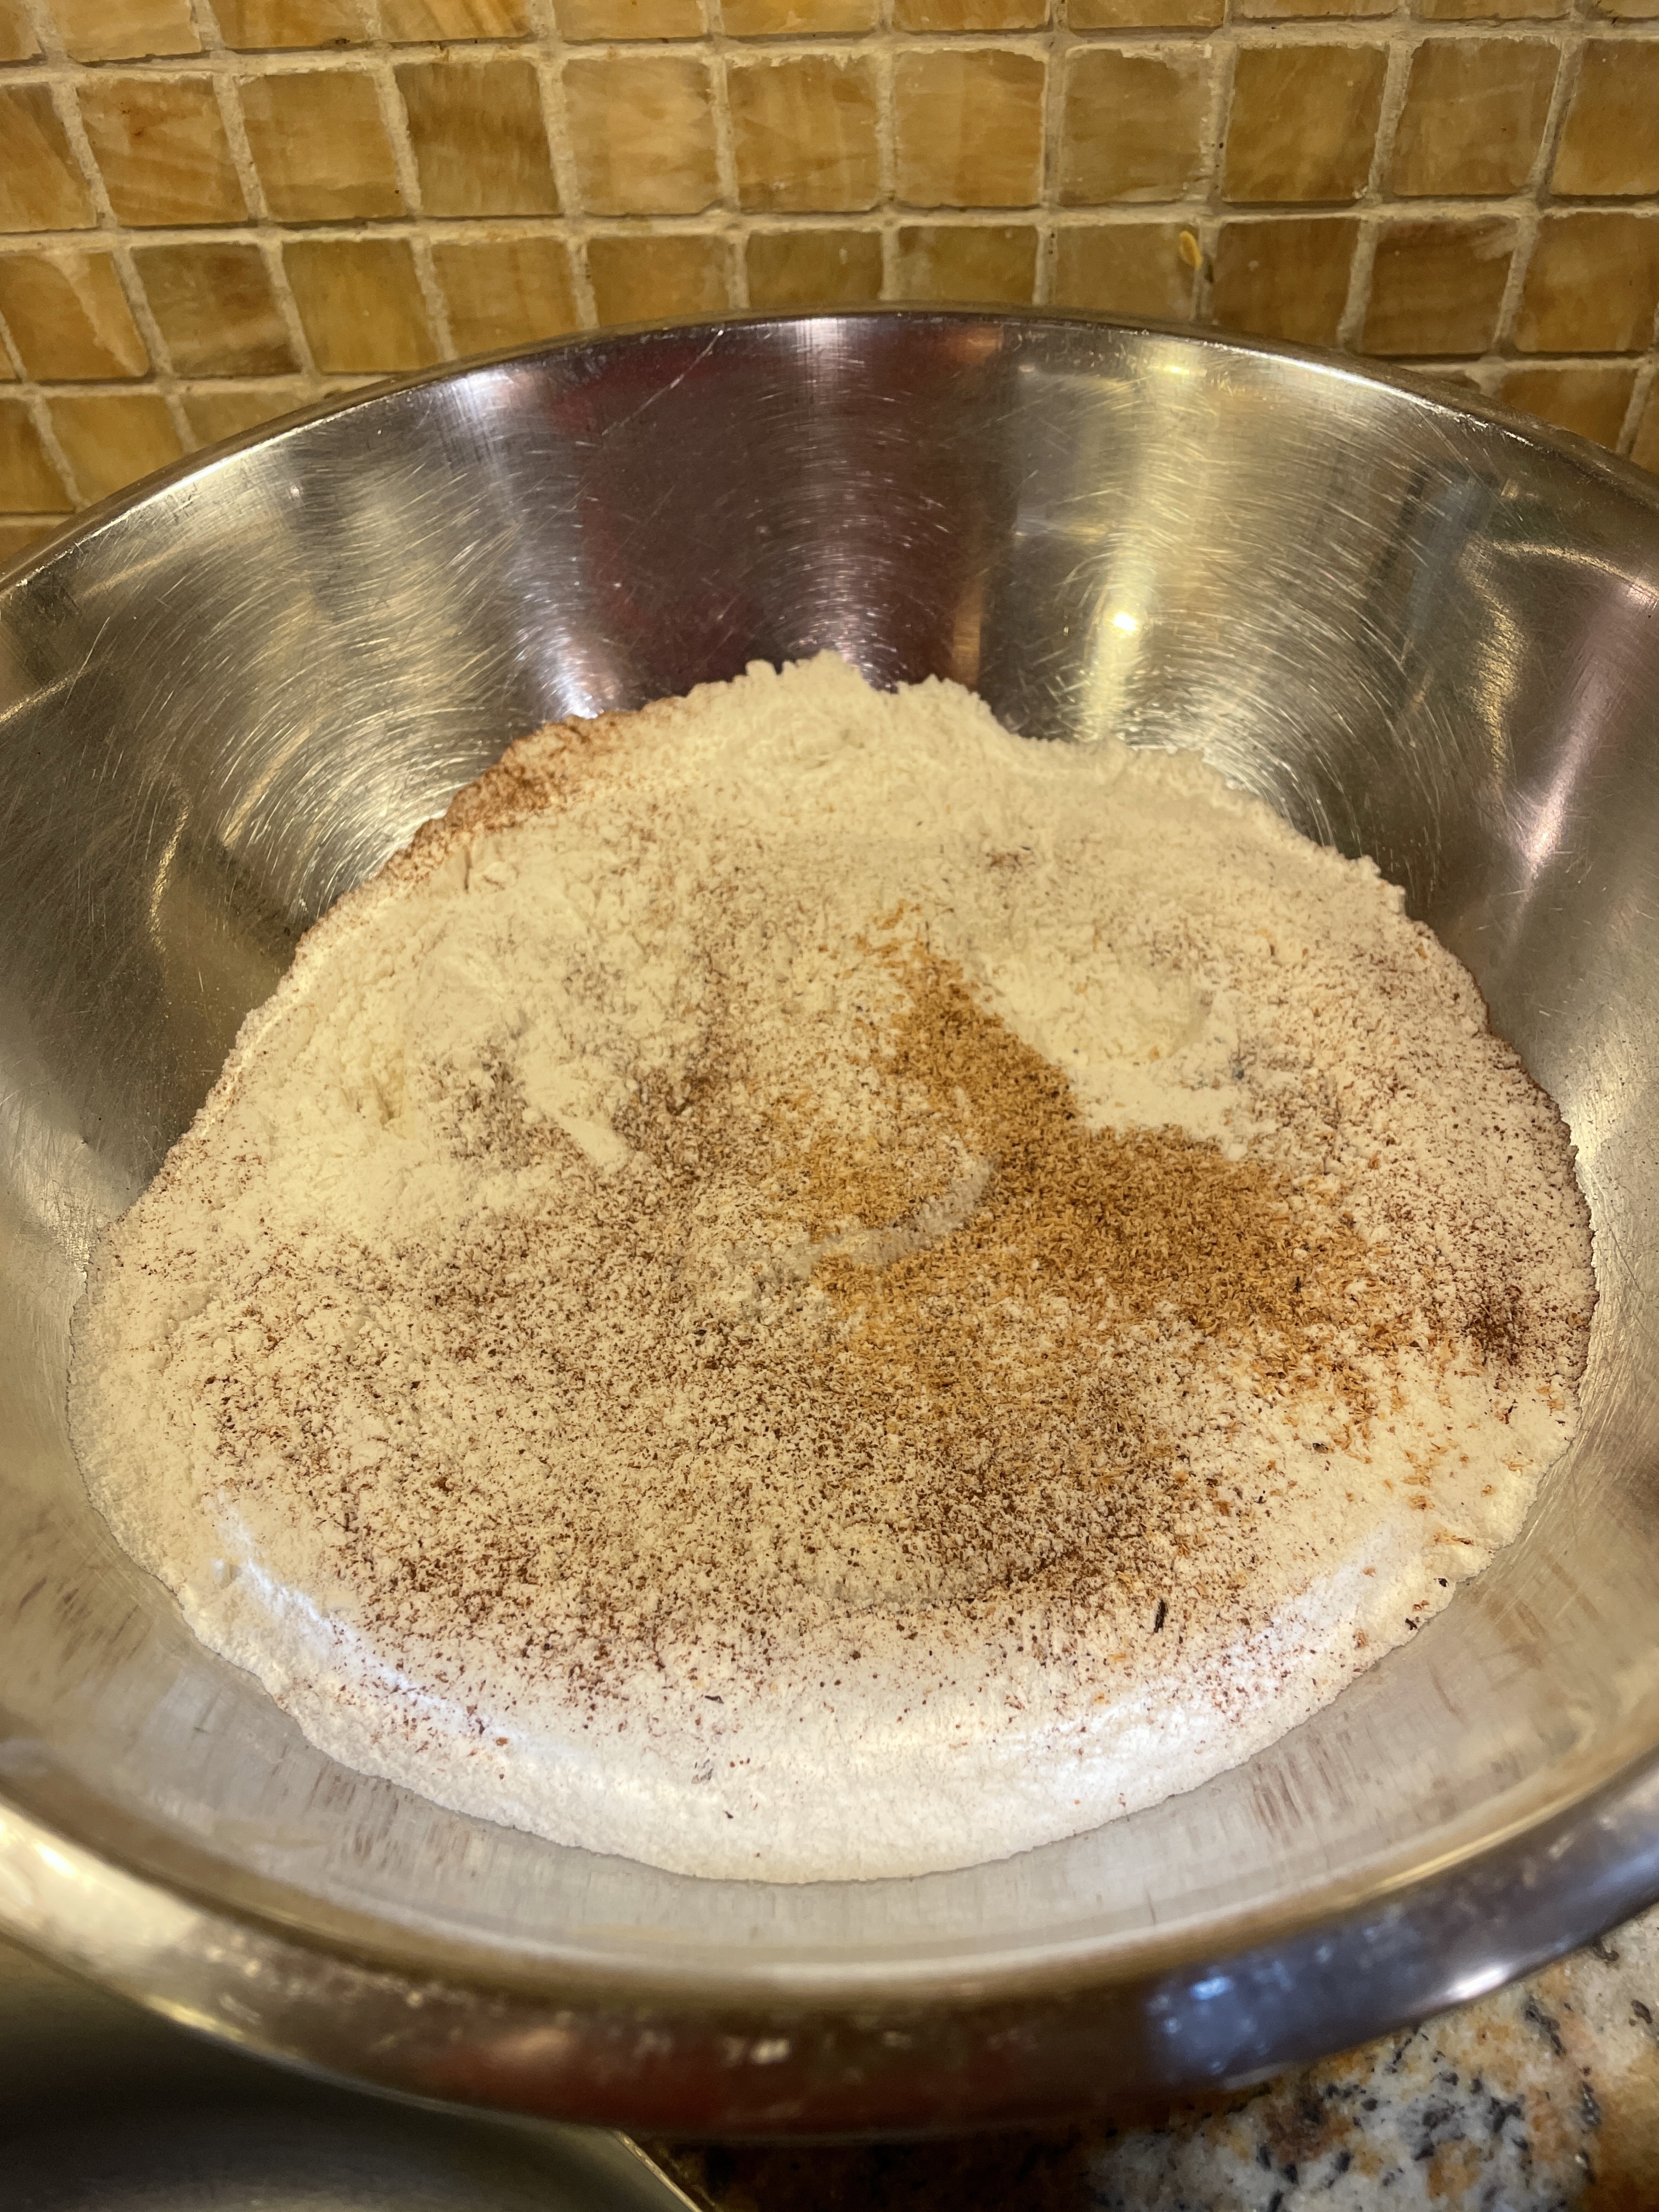
- Sift the flour, baking powder, cinnamon, nutmeg, baking soda, cream of tartar, salt (if using) into a bowl. Thoroughly whisk these ingredients together to combine well. Set aside.
- Cream the butter and shortening in the large bowl of an electric mixer on low speed until well blended.
- Add the brown sugar and adjust the mixer speed to medium. Continue to mix until well combined, scraping down the sides intermittently (15 minutes).
- Add the granulated or light brown sugar. Continue to mix until well combined, scraping down the sides intermittently (additional 10 minutes.) The batter should look creamy like if you were making a cake.
- Beat in the egg. Add the hot water and vanilla extract and beat for an additional minute or so.
- Add the coconut flakes. Mix on low speed for about 10 seconds. Repeat adding the chocolate chips and then the walnuts mixing each time for 10 seconds.
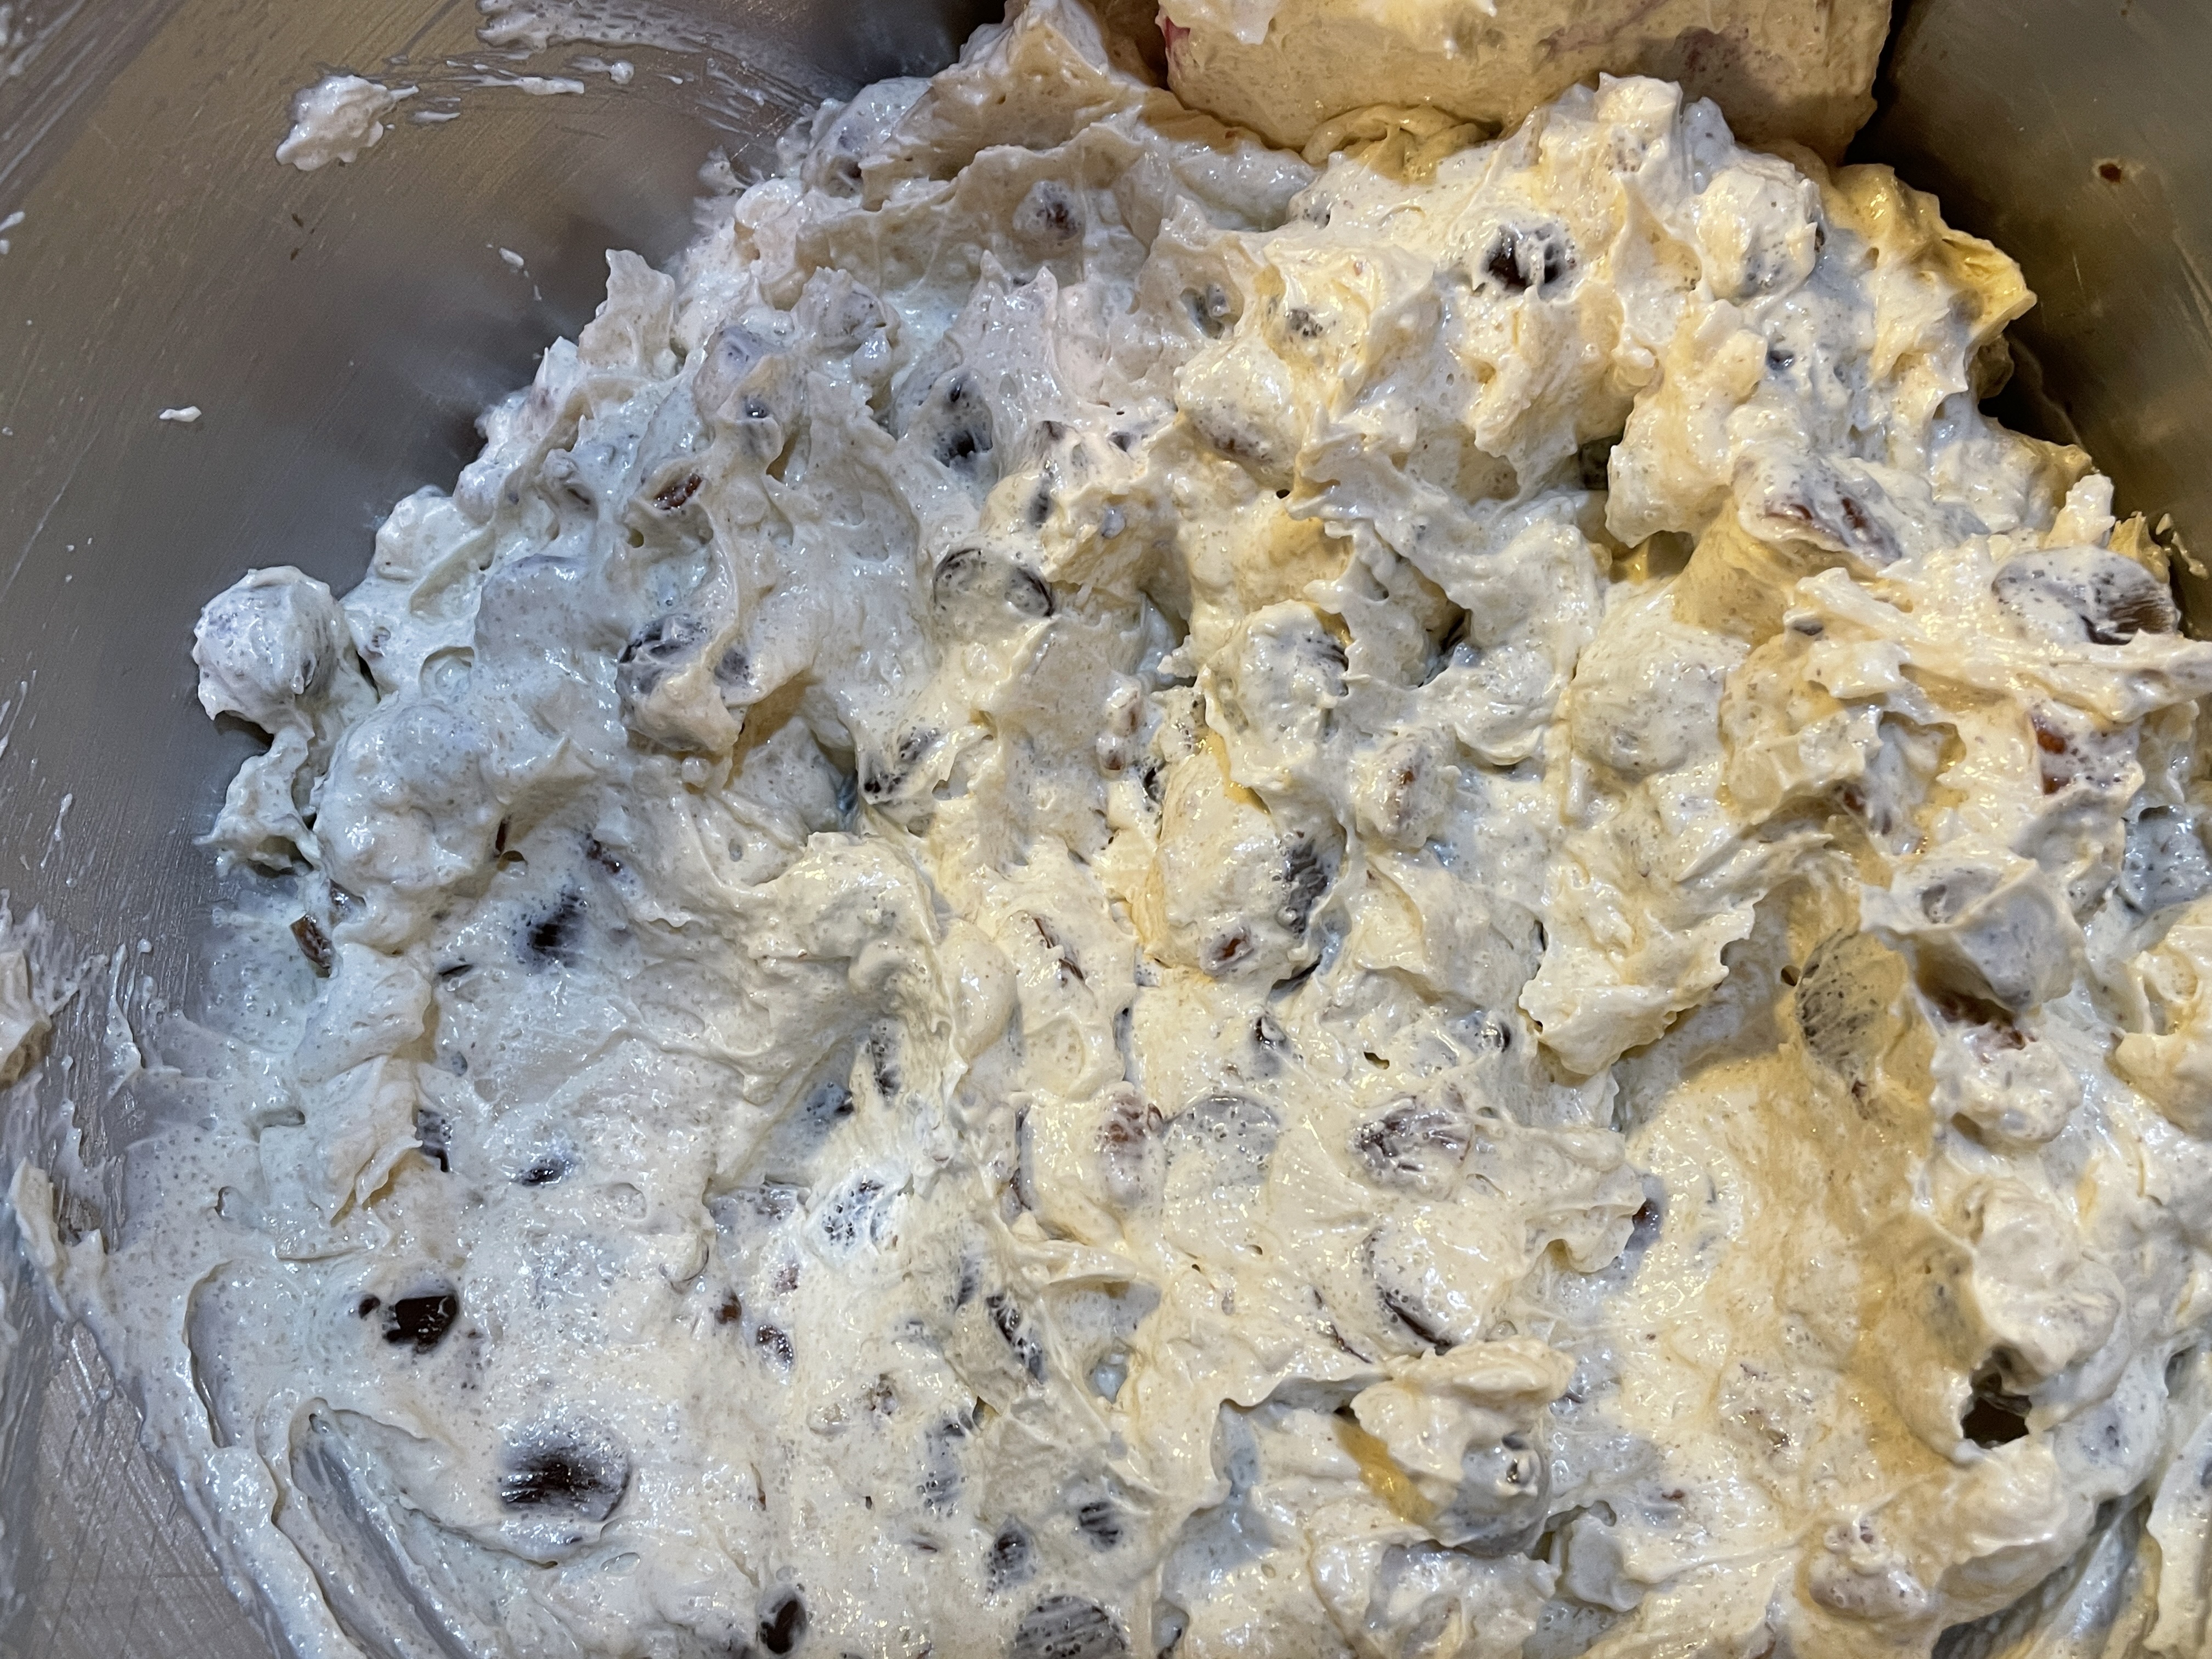
- Remove the mixing bowl from the stand. Add the flour mixture and combine well with the batter. The mixture will be dense with the chips, coconut and nuts.
- Wrap the dough tightly in plastic wrap and refrigerate for 30 minutes to 1 hour. THE BATTER CAN REMAIN IN THE FRIDGE FOR 24 HOURS OR MORE
- When ready to bake, heat the oven to 350oF. Line a few cookie sheets with parchment paper.
- Scoop out heaped chunks of dough with a tablespoon measure and place them on the cookie sheets generously spaced. The original recipe says your dough chunks should be the size of approximately 3 tablespoons but I scoop out 1 heaped tablespoon of dough for each cookie. You can make these cookies in 2 batches – just tightly wrap and re-refrigerate 1/2 of the dough for a fresh batch in a day or so.
- Place the cookies in the oven on a middle rack and bake for 13 minutes. After 13 minutes, check to make sure that the bottoms are not getting too dark and that the tops are developing some color. I recommend that you put the cookies back in the oven after you check them at the 13 minute mark.
- Put on your timer for 2-3 minute intervals checking each time to make sure that the cookies have the perfect coloring – just lightly golden on top.
- Remove from the oven when done and cool for at least 10 minutes
- Store in an airtight container for 2-3 days (if they last that long).